The Essential Guide to Microscopic Examination of Geological Minerals
페이지 정보
작성일 26-01-07 19:05 조회 14회 댓글 0
본문
Examining crystals and minerals under a microscope is a fundamental technique in geology, enabling scientists to reveal the internal structure of these materials that remain undetectable without magnification. To use microscopy effectively for this purpose, one must understand specimen handling protocols, the optical systems employed, and analyzing observed optical phenomena.
The first step in any microscopic examination is sample preparation. Crystals and minerals must be cut into thin sections that are typically standard 30µm thickness. This is done using a precision diamond saw to slice a small piece of the specimen, followed by mounting it on a glass slide with optical mounting compound. Once mounted, the sample is lapped and buffed until it is thin enough to transmit light. For opaque minerals, a unthinned polished mount is used instead. Proper preparation is critical because any surface flaws can distort optical properties and lead to erroneous identification.
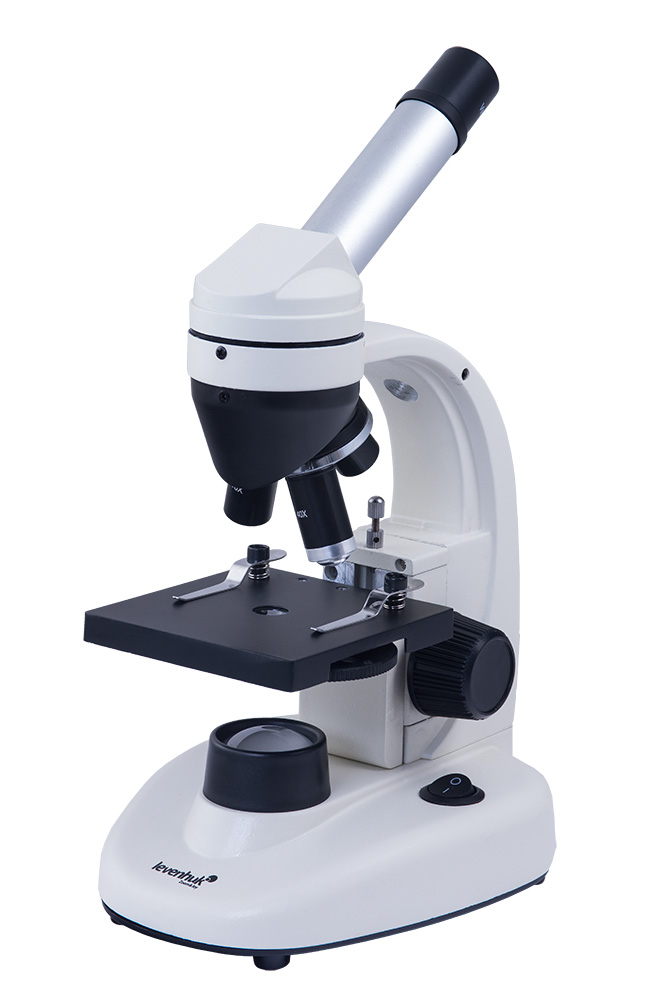
The most commonly used microscope for mineral analysis is the polarizing microscope, also known as a birefringence analyzer. This instrument is equipped with a pair of Nicol prisms—one below the sample stage called the incident polarizer, and another above the sample, known as the variable analyzer, which can be adjusted in position. When used together, these filters allow observers to study the response of crystals to orthogonal light waves, revealing key diagnostic features such as optical anisotropy, cleavage-related darkening, and pleochroism.
To begin an examination, place the prepared slide on the stage and start with the initial low-power lens. Observe the general texture and spatial relationships. Switch to higher magnifications—40–60x range—to study crystallographic forms. Rotate the stage while observing the sample under NIKOLI configuration. Minerals that are cubic system minerals, such as spinel or fluorite, will remain optically extinct during rotation. In contrast, optically active phases like titanite or apatite will show fluctuating interference hues, a phenomenon known as Newton’s color bands. These colors can be compared to Nicol charts to estimate the degree of birefringence.
Anisotropic coloration, the variation in hue of a mineral when viewed from orthogonal planes under unpolarized transmitted light, is another important observation. For example, phlogopite shows reddish hues in one orientation and olive in another. This property helps separate look-alike minerals. Additionally, observing the shape and cleavage patterns of crystals can provide clues to their identity. Twin boundaries are often more clearly visible under maximum resolution settings.
For opaque minerals like native metals or sulfides, a incident light microscope is required. These microscopes illuminate the sample from above rather than below, making them suitable for examining reflective mineral surfaces. In this setup, surface features such as crystal habits can be studied in detail.
It is important to record findings systematically. Illustrating observed features, noting the polarization settings, and recording objective lens used help build a permanent record. Microscope-mounted sensors can be attached to computer-integrated microscopes to enable image analysis with published optical charts.
Finally, always verify optical axis alignment, and prevent contamination to avoid scattering artifacts. Periodic workshops and proficiency in reference materials are essential for accurate identification. With practice and attention to detail, microscopy transforms a simple rock sample into a detailed record of geological history, خرید میکروسکوپ دانش آموزی revealing the delicate architecture locked within even the tiniest grain.
댓글목록
등록된 댓글이 없습니다.